Adding an Asset Picture
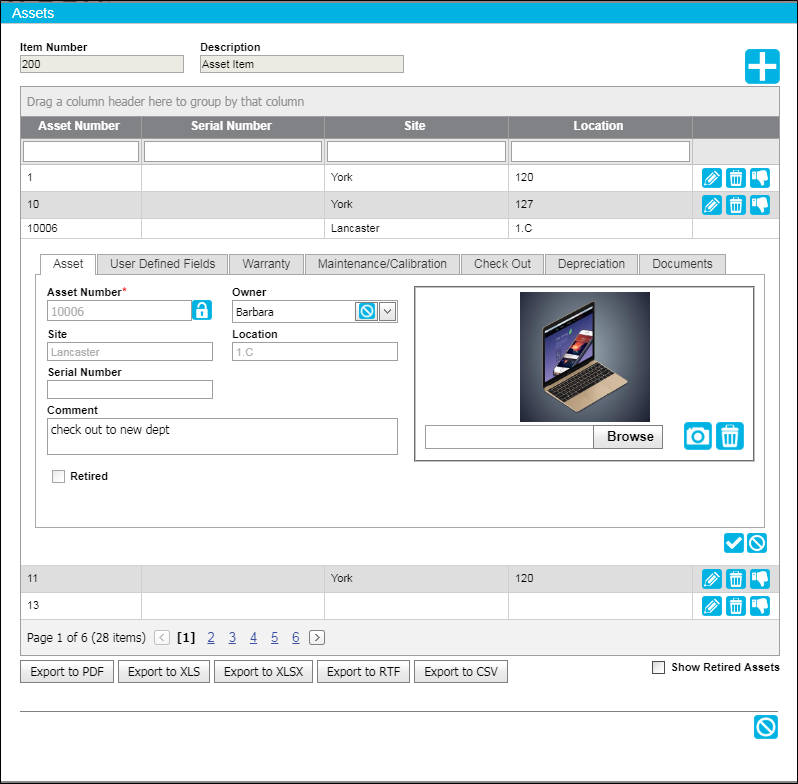
When an image file is associated with an asset, the asset's picture is displayed in the Assets form.
How to Add a Picture to an Asset
Important: The following image file formats are accepted: .png, .jpeg, .gif.
To display a picture in an asset record, follow the steps below.
- Picture: When a picture is associated with an asset, the asset picture is displayed in the picture area of the Asset tab.
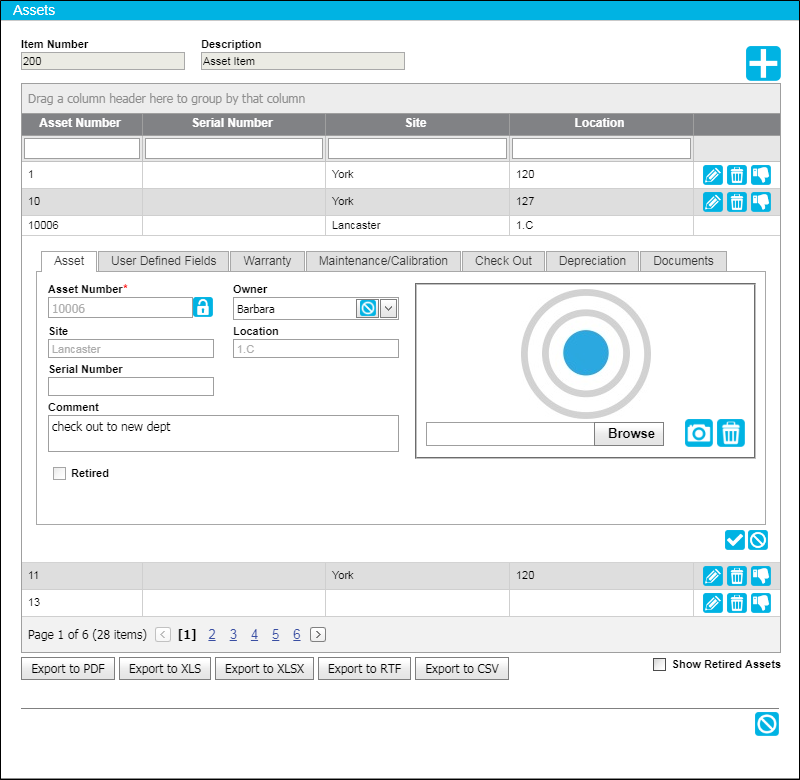
- To associate a picture with the asset, select the Browse button to select the image file.

- The File Upload window appears.
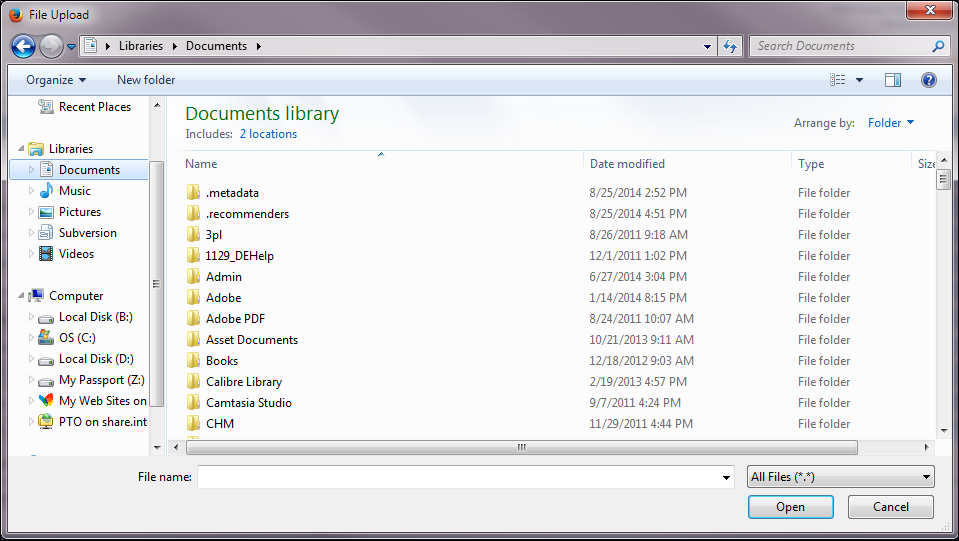
- Browse to the image file location, select the file, and select the Open button. The File Upload window closes and you are returned to the Assets tab.
- The image file name is loaded into the Browse field.
- Select the Upload Picture icon.

- The Browse field clears and this image is loaded into the Assets form.
Deleting the Asset Picture
The asset's picture may be removed.
- To delete an asset's picture, go to the Assets form\Assets tab.
- In the Picture area of the form, select the Delete icon.

- A prompt appears asking you if you want to delete this image.
- To delete this image, click OK. The prompt closes and the image is removed from the form. (To cancel the delete action, click the Cancel button to close the prompt and return to the form; the image remains.)